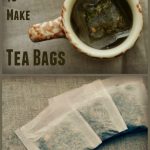
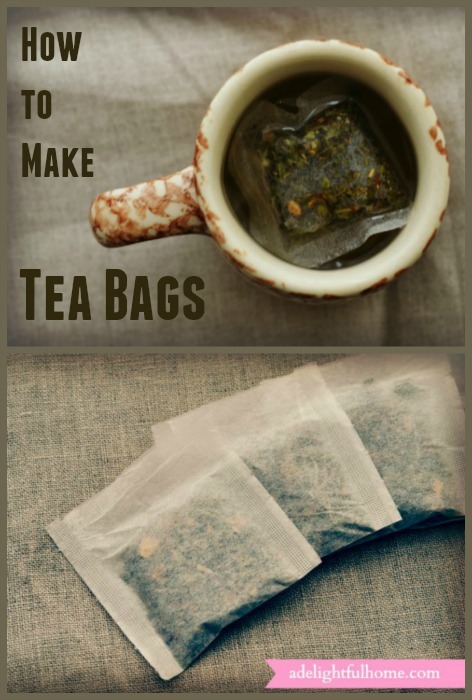
How to Make Tea Bags (Using Press-and-Brew Bags)
Homemade tea bags are a fun DIY project that can be made with little fuss.
It's actually what I'd call semi-homemade, I guess. But, who cares really? It's still awesome!
I especially love the satisfaction of looking at the tea bags and saying, “I made those!” but, it's also a great way to have your loose tea ready to brew or make it portable.
How to Make your own tea bags
You will need:
- Press n’ Brew Tea Bags
- Loose tea of your choice (can be a single herb, such as peppermint, or a blend – find lots of tea recipes here )
- Iron
- Teaspoon
- Clean cloth
Method for Making Tea Bags
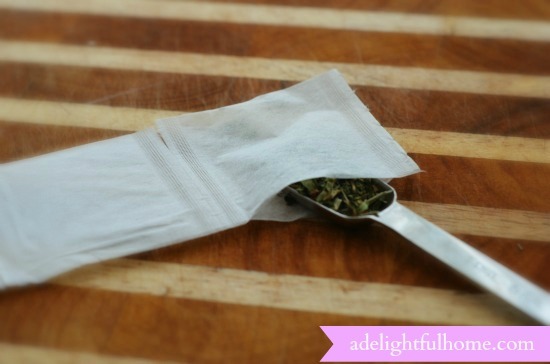
Step One: Fill the Tea Bags
Fill the tea bags half full. Do not fill the tea bags until they are stuffed to the brim or else the tea won't brew properly. It needs room for the leaves to unfurl and expand.
Since the tea bags come in a variety of sizes, you may have to adjust the amount depending on the press-and-brew bags you purchase. Smaller bags can be used for one cup of tea and larger sizes are great for brewing a whole pot or jug. Two teaspoons of tea is usually right for most small tea bags.
You do not need to separate the press-and-brew tea bags before filling, simply fill all of them in a row while attached together.
Step Two: Seal Tea Bags
Preheat an iron to the cotton setting.
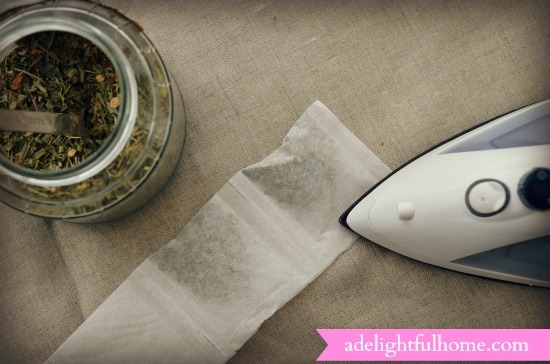
Lay out a clean cloth (suitable for ironing). Lay tea bags on cloth and iron the edge of the tea bags closed. They will sue together. (This only takes a few seconds.)
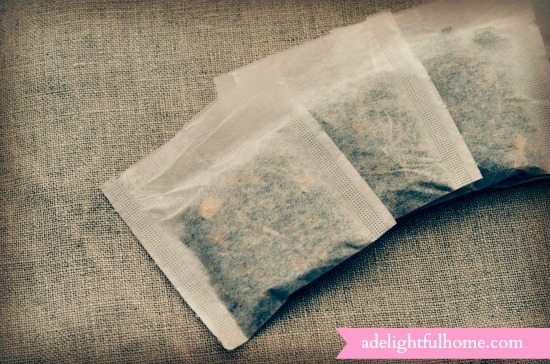
Step Three: Cool and Store
Let the tea bags cool and separate (or store attached, if desired).
Step Four: Use!
Use these tea bags as you would any other tea bag. Pop in a mug and pour almost boiling water over the top. Steep anywhere from 2-10 minutes, depending on the strength of tea you desire.
Buy Press and Brew bags at Mountain Rose Herbs, Bulk Herb Store, or Amazon.