Watching a bath bomb fizz is one of life’s simple pleasures. It’s fun to toss it in the bathtub and watch the bubbles begin to sizzle until the bath bomb is completely dissolved. There’s something magical about it.
While you’ll easily find bath bombs available in stores, many contain dyes and fragrances that should be avoided. Not to be too dramatic about it., but knowing you are soaking in stuff that’s not good for you kind of ruins the relaxing bath experience.
The great thing is, bath bombs are easy to make with natural ingredients. There are a few important techniques to know, but once you’ve got those down, the process is relatively simple.
Even though bath bombs are quick to make, they require some time to dry. So if you are making these as gifts, be sure to factor that time in.
Bath bombs are fun to make with kids. I really enjoy making bath bombs with my daughter. And then hearing the “oohs and ahhs” coming from the bathroom once she’s added one to the tub.
Before I share the “how to” with you, let’s take a quick look at the ingredients:
Citric Acid
Citric acid is an important component of the bath bomb recipe as it is what creates the fizzing experience we all love to see.
Great to have on hand for natural body care products like bath bombs and bath fizzies, Citric acid also has a variety of household uses. In fact, it works beautifully to descale coffee pots and can be included in homemade dishwasher detergent.
Get non-GMO citric acid from Amazon or Mountain Rose Herbs. It is derived from 100% pure anhydrous citric acid from sugar cane.
Baking Soda
Most bath bomb recipes contain a lot of baking soda, so you’ll need a decent amount. Use baking soda that is aluminum-free, when possible.
Buy Baking soda from Mountain Rose Herbs or Amazon.
Fine Epsom Salt or Sea Salt
Salt is always helpful when relaxing in the tub as it's good for soothing sore muscles. Whether you use Epsom salt or sea salt, just make sure it is fine and not coarse.
Oil
Use an oil with a mild scent, like sweet almond oil, jojoba oil, safflower oil, or shea nut oil. This prevents the oil from overpowering the scent of the bath bomb. Oil helps hold the ingredients together as well as provides moisturizing and skin-softening benefits.
Color
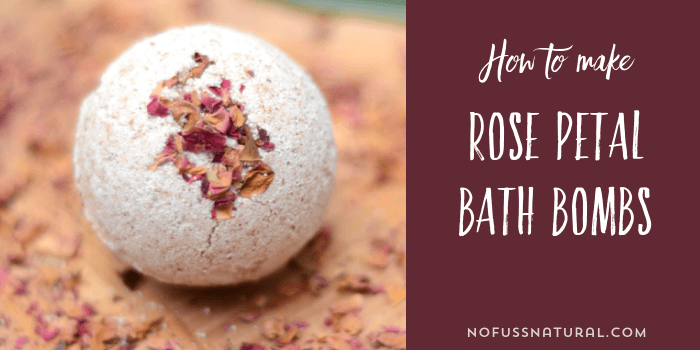
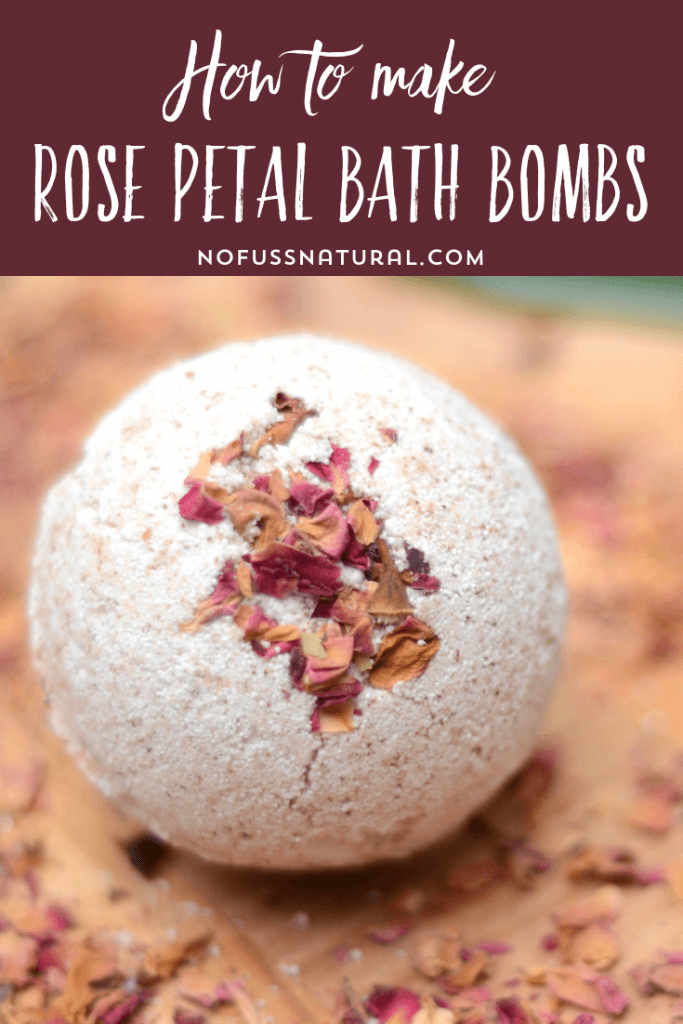
Color is not necessary when making bath bombs, but there are ways to add it naturally if you choose. To make the rose petal bath bombs pictured above, I used beet powder.
Some colorful clays, such as Dark Red Brazilian Clay and Purple Brazilian clay make great colorants.
You will also need:
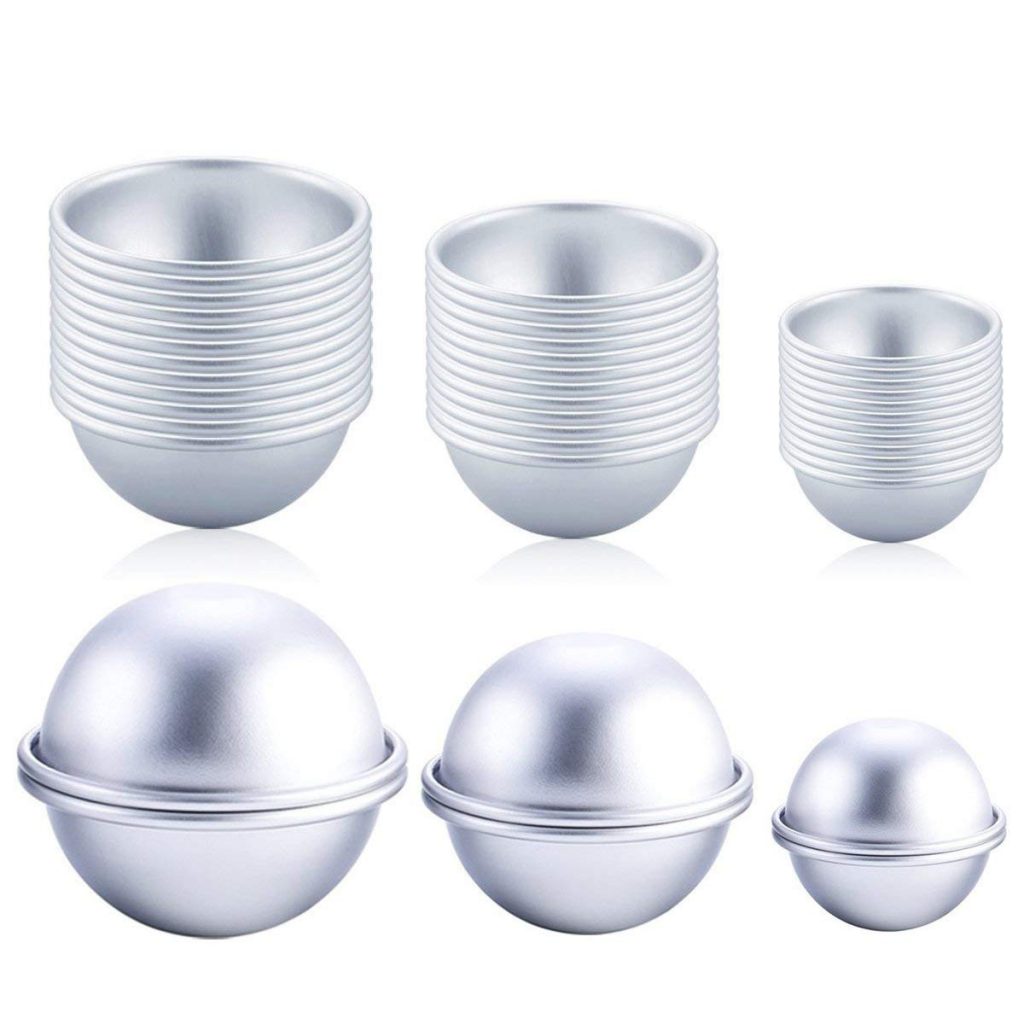
Bath Bomb Molds
I’ve also made them in silicone molds before, like with these bath fizzies. I think the traditional bath bomb mold looks prettier, especially for gifts, but you can experiment with various shapes to find one you like best.
This set of three bath bomb molds from Amazon looks great. It's nice to have more than one mold as bath bombs seem to hold together better when they are left to dry for a few hours in the mold.
If you are going not sure what size bath bombs you prefer, you might like this set that comes with three different sizes.
If you are new to making bath bombs and just want to try it out, you can use a muffin tin or silicone mold (if you already have one). Lightly grease the bottom and sides of the muffin tin with coconut oil before using.
Spray bottle
A spray bottle is very helpful when making bath bombs. I recommend placing witch hazel in a spray bottle and spritzing the mixture so as not to get it overly damp.
How to Make Bath Bombs:
Ingredients:
- 1 cup baking soda (buy from Amazon or Mountain Rose Herbs)
- 1/2 cup citric acid (buy from Amazon or Mountain Rose Herbs)
- 1/2 cup fine Epsom salt
- 1/2 teaspoon beet powder
- .75 ounces sweet almond oil or melted shea butter (approx. 1-1/2 Tblsp.)
- 2 Tbsp. Rose petals, dried (buy from Mountain Rose Herbs)
- Witch hazel (buy from Mountain Rose Herbs)
- 15 drops lavender essential oil, optional (or other skin-safe essential oil of choice)
Note: it is perfectly fine to leave out the Epsom salt and make these with just baking soda and citric acid. If you do so, simply replace the salt with citric acid.
Instructions
- Place baking soda, cornstarch, citric acid and beet powder in a large bowl. Stir until well combined.
- Mix the oil (or melted shea butter) and essential oil in a small bowl or cup.
- Drizzle oil/essential oil mixture over the dry ingredients. Stir to distribute evenly. It also works well to use your hands to incorporate (wear gloves if needed).
- Spritz mixture with witch hazel once or twice.
- Squeeze mixture together between hands to see if it holds together. If it is too crumbly it will fall apart. If the mixture is too crumbly, spritz again with witch hazel. Once mixture holds its shape, it's ready for the molds.
- If using rose petals, sprinkle a few in the bottom of one side of the mold. Feel free to use other dried herbs or flowers, such as lavender.
- Scoop mixture into both sides of the mold pressing down to make sure it is packed tightly. Press both sides of the mold together firmly. Let sit for at least 20 minutes.
- You may try to remove bath bomb from the mold at this point or leave it for a couple more hours to dry. People do both. Either way, let the bath bomb dry completely before storing.
- Store bath bombs in a container with a tight-fitting lid.
To Use:
Fill tub with warm water and add one bath bomb. Watch it fizz! Then enjoy a nice long soak.



 →
→
Hello STACY
I am looking for your bath bomb tutorial.
The video here is on green cleaning.
I am a member of the club.
I would like to view before trying to make them again. Thank you. Deborah Dwight
Hi Deborah,
Thanks for letting me know about the green cleaning video. I will get that fixed. I am actually editing the bath bombs video tutorial this week. Have you had any specific issues with making bath bombs you can tell me about? If so, I can be sure to address them in the troubleshooting section.
Thanks so much,
Stacy
P.S. I can send you a message as soon as the bath bombs video is uploaded if you like.