It seems that kale is the new super food of choice. No matter what healthy eating philosophy you follow, kale is always recommended.
Kale chips are also a growing in popularity.
After seeing kale chips mentioned so many times, I had to try them myself. I purchased a bag at my local health food store I was shocked at the price. At close to $5 a bag they are an expensive treat.
Thankfully, kale chips are easy to make at home and therefore, much more affordable.
I used the oven in my first attempt at homemade kale chips and was not pleased with the outcome; the chips were black and had a burnt flavor. I tried again, but had a similar result.
On a mission to make good-tasting, burn-free kale chips, I tried the dehydrator. And I was not disappointed. They tasted great. Plus these Kale chips have the added benefit of retaining more nutrients since they are dehydrated instead of oven baked.
I use (and love) the Excalibur 9-tray dehydrator – It's awesome!
Today I'm sharing two recipes for Kale chips. One is a plain version, that you could add a variety of spices to, the other is a garlic version. (I prefer the garlic version.)
How to Make Plain Kale Chips (in a dehydrator)
Ingredients:
1 bunch kale
2 tablespoons olive oil
Sea salt or Herbamare (sea salt with dried herbs)
Method:
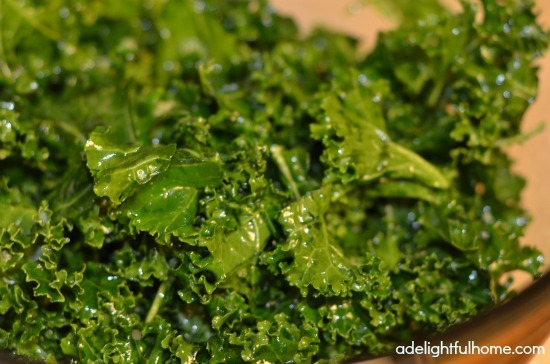
Wash kale and dry thoroughly.
Dry it as much as you can! The oil sticks better to dry leaves.
Tear bite-sized pieces of kale from the stem. Discard the stem. Place kale pieces in a large bowl.
Pour olive oil over kale and use clean hands to toss the kale and rub oil into the leaves.
Sprinkle salt over the kale and toss again to distribute evenly.
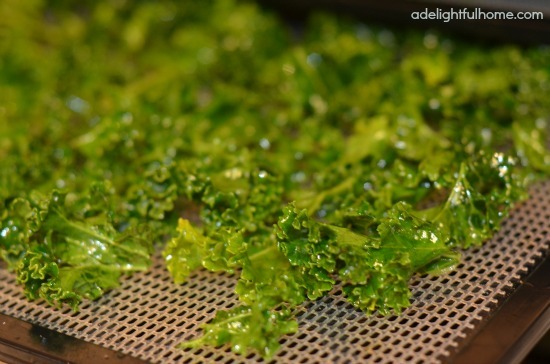
Place kale chips on dehydrator trays (My Excalibur dehydrator comes with mesh screens, so I'm not sure about other brands. Just be sure the kale won't fall through any holes. Remember it shrinks as it dries).
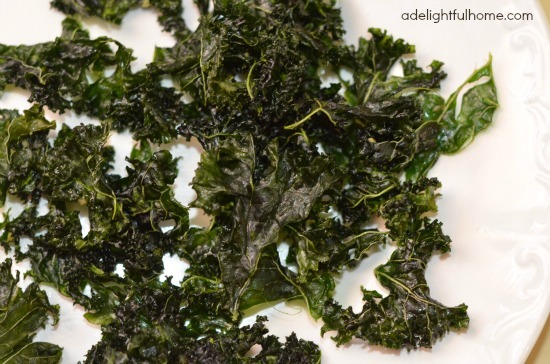
Turn dehydrator to 135 degrees F and leave for about 2 hours, or until crisp.
Some recipes suggest turning the temperature down to 115 degrees after 1 hour, but I usually don't because I am impatient. I want my kale chips ASAP!
(To tell you the truth, they don't often make it into a storage container, I eat them right off the trays. It doesn't take long to demolish a bunch or two of kale when it's been dehydrated).
Garlic Kale Chips
Ingredients:
1 bunch kale, torn into bite-sized pieces
2 tablespoons olive oil
2 – 3 garlic cloves, minced
Sea salt or Herbamare
Method:
Mix oil and garlic together in a small bowl. Pour over kale leaves and toss to coat, then use clean hands to massage oil into kale leaves.
Sprinkle salt over the leaves and toss to coat again.
Place on dehydrator trays.
Turn dehydrator to 135 degrees F and leave for about 2 hours, or until crisp.
Once crisp to your liking, store in a sealed container.
Pretty easy, right?
Do you like Kale chips? Have you tried making your own?
This post contains affiliate links.


 →
→
Yum! Can’t wait to try this! Thanks for sharing your secrets, Stacy!
You’re welcome! Hope you enjoy them.
I love kale chips! My favorite is sprinkling them with tamari sauce 🙂
That sounds delicious! I’ve tried coconut aminos and sesame seeds and that was really good, too.
Hi Stacy, I’ve read that dehydrating the kale chips at 135 degrees will actually destroy some of the nutrients whereas the 115 degree temp will preserve the nutritional value. It was recommended to me to do the entire dehydrating process at 115 degrees. It takes longer but, hey – if we end up with more nutritious kale, I guess it would be worth it.
Turning down the temperature just one degree can make a world
of difference, and could save families. You can also buy an insulation jacket for your boiler which can save you around 35 pounds a year and only cost a
few pounds to buy. To escape from lengthy heating or electricity bills, experts have come up with a special appliance named gas boilers.