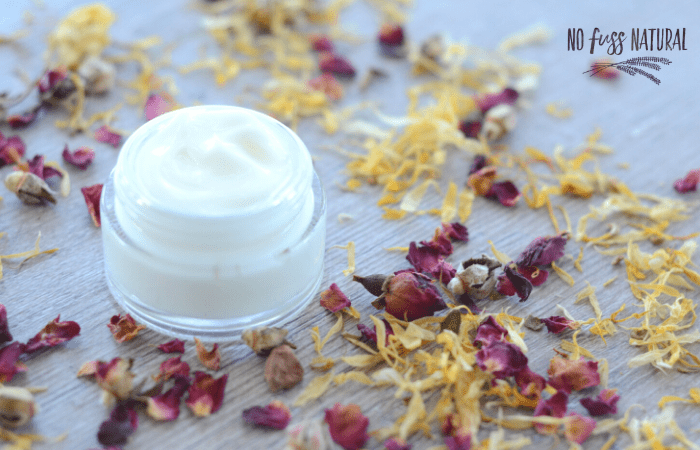
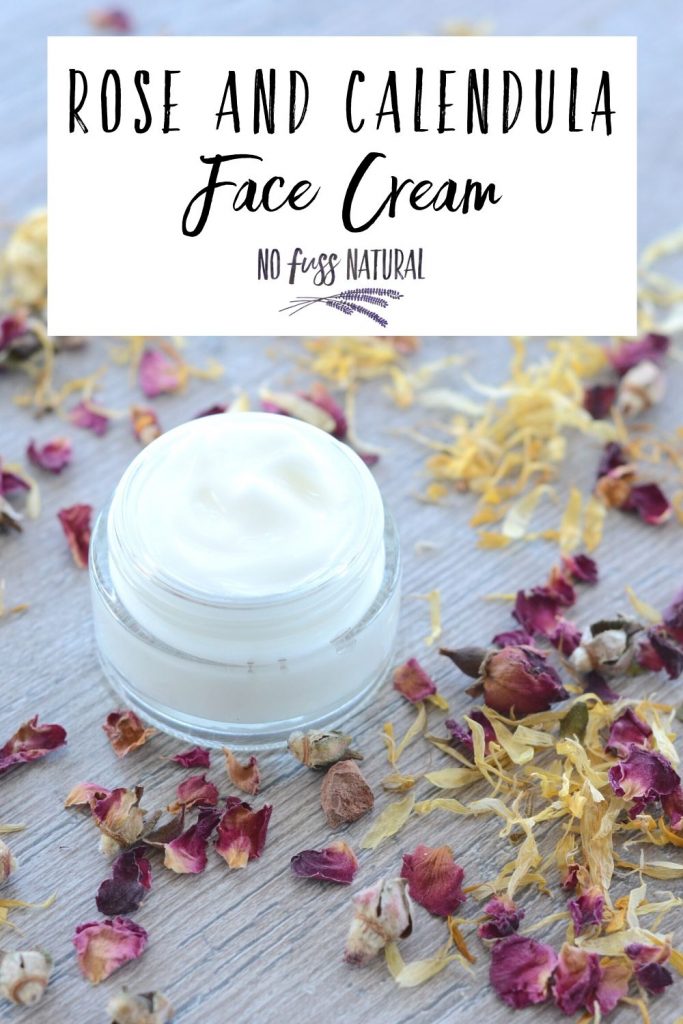
This recipe was born out of an effort to adapt Rosemary Gladstar’s famous Perfect Face Cream recipe to use emulsifying wax instead of beeswax. One of my Natural Body Care Club students had been making it but struggled to keep the lotion a creamy consistency. I went to work on testing in order to create a stable recipe for her that had a greater chance of staying together and maintaining the creamy texture she desired. (If you would like to be one of my Natural Body Care Club students and get feedback like this, sign up here.)
The issue that many run into with this cream is mostly to do with using beeswax as an emulsifier. Beeswax can be tricky in lotions and creams as it is not a true emulsifier. Many people have issues with cream or lotion separating when using beeswax as an emulsifier. Emulsifying wax on the other hand, is extremely easy to use and works just about every time, as long as you follow the proper ratios and temperature.
This recipe was originally intended as a face cream, but I find it works quite well as a hand an body cream too.
What is Emulsifying Wax?
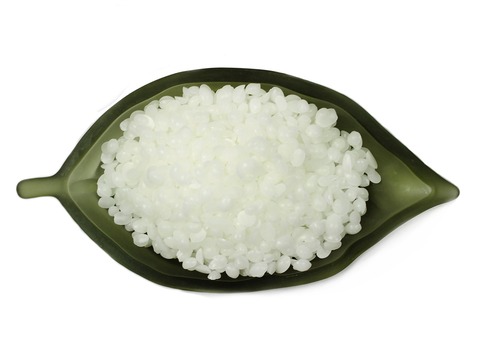
Emulsifying wax is a plant-derived wax. It is often referred to as E-wax. Look for one that says “Emulsifying Wax NF” – NF stands for National Formulary. The national formulary provides the composition, description, method of preparation, and dosage for drugs, dietary supplements, and ingredients.
I purchase emulsifying wax from Mountain Rose Herbs and this is what I have used in most of my homemade lotion and cream recipes.
Emulsifying wax from Mountain Rose Herbs
Preservatives in homemade lotions and creams
One other adaptation I made to this recipe is to include a natural preservative. I have come to understand that preservatives are necessary in homemade lotions and creams because these products include water and water-based ingredients.
We can’t always see or smell bacteria growing in our homemade cosmetics, so even if something looks fine, it may not be. The risk of applying harmful bacteria, molds, and yeast to your skin in high and can be avoided with the use of natural preservatives.
Learn more about using natural preservatives (and which preservatives I recommend) in this post:
How and When to Use Natural Preservatives in DIY Beauty Products
How to Make Rose and Calendula Cream
The recipe and process for making this lotion is quick simple and relatively quick, but because we are including herbs in our lotion, there are a few steps to complete before you move on to making the lotion itself. This involves making an herbal oil infusion and herbal water infusion.
I infused the calendula in water and roses in oil, but you could easily switch them around or steep a mixture of roses and calendula in both oil infusions and water infusion (separately, not together – so a mix of calendula and roses in oil in one jar and a mix of calendula and roses in water in another jar).
Or, you could infuse the oil and not the water or vice versa. It is flexible and you can adapt to what you have on hand.
The oil infusion takes a few hours to a few weeks, depending on your preferred method. If you are slightly obsessed with making herb-infused oils, you may already have some on hand which will make the entire process a lot quicker!
Want to know more about creating infusions (and find links to a bunch of herb- infused recipes and tutorials)?
Check out my post: The Joy of Homemade Herbal Infusions
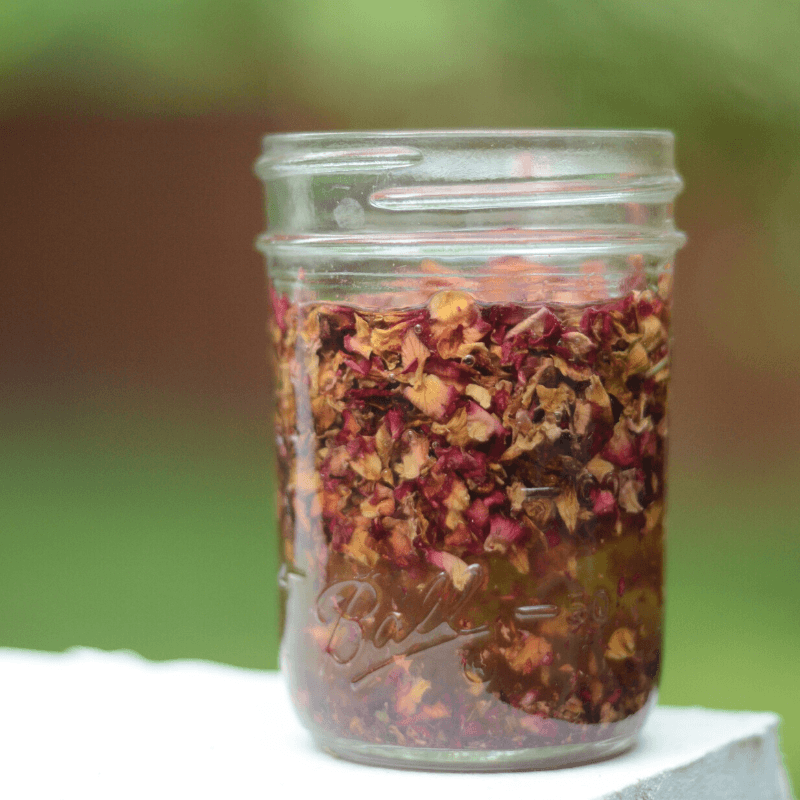
How to Make Herb-Infused Rose Oil for Lotion
To make an oil infusion, you’ll need to plan ahead a little. I prefer the slow method of letting the jar sit for a few weeks, but if you need it sooner, warm on the stove top using the quick herb-infused oil method below.
Quick Herb-Infused Oil Method
- Fill a canning jar about 1/3 full with dried rose petals
- Pour avocado oil or sweet almond oil over rose petals and fill the jar with about twice as much oil as herbs. You’ll have enough for this recipe and some left over for other creations. (I don’t usually measure, but if you want some more guidelines, use 1/3 cup roses and 2/3 cup oil).
- Fill a small saucepan with a few inches of water and set the jar holding your roses and oil in the pan.
- Warm on low heat for 3 hours or so. You will need to stay close by to add extra water to your pot if needed.
- If you don’t have the time to stay close and monitor the oil, use the oven method.
- Once infused to your liking, strain out the herbs and compost or discard.
- Store the rose-infused oil in a clean, dry jar out of direct sunlight until you are ready to use it.
Cold-Infusion Method
- Fill a canning jar about 1/3 full with dried rose petals
- Pour avocado oil or sweet almond oil over rose petals and fill the jar with about twice as much oil as herbs. You’ll have enough for this recipe and some left over for other creations. (I don’t usually measure, but if you want some more guidelines, use 1/3 cup roses and 2/3 cup oil).
- Close jar with lid and let sit for 4 weeks out of direct sunlight. Shake the jar from time to time to ensure all roses remain covered.
- Strain out the herbs and compost or discard them.
- Store the rose-infused oil in a clean, dry jar out of direct sunlight until you are ready to use it.
Calendula Water Infusion
I also recommend making a water-infusion with calendula to increase the herbal powder of this lotion recipe. If you don’t wosh to do this, you can simply use distilled water in the recipe.
To make a calendula water infusion follow these steps:
This will make a little more than needed, but it’s better to have too much than too little. I’ve added extra water to account for
- Place 1/4 cup dried calendula flowers in a small canning jar.
- Boil 1/2 cup distilled water and pour into jar.
- Cover and steep for 30 minutes
- Strain and compost the herbs. Measure portion needed for your recipe and proceed with cream preparation.
Rose and Calendula Cream Recipe
Ingredients
Oil phase:
18 g rose or infused avocado or sweet almond oil
10 g cocoa butter (these wafers are great for easy measuring)
7g emulsifying wax NF
Water phase:
40 g calendula water infusion or distilled water
20 g aloe vera gel
Cool down phase:
Chosen preservative in % recommended by the manufacturer (see options here)
Instructions
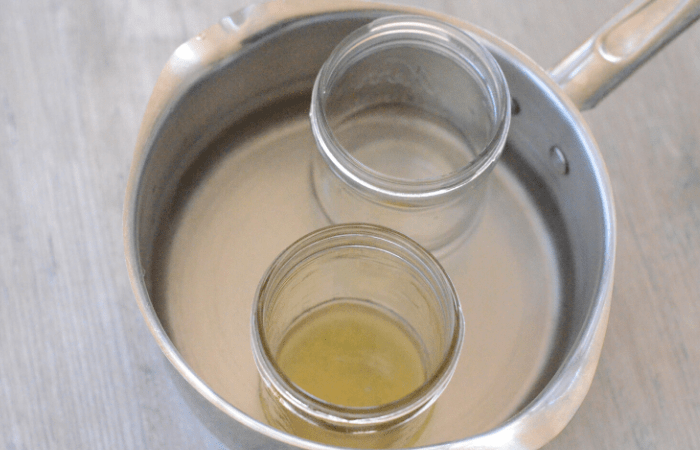
Set aside a pot big enough to fit both jars. Fill it with a few inches of water (this is your make-shift double-boiler).
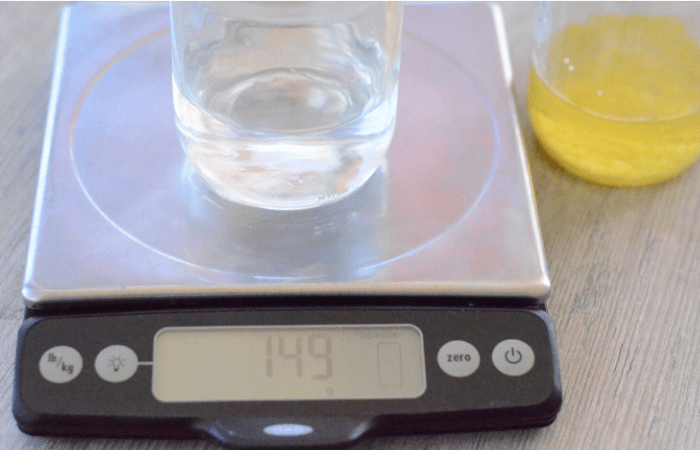
Measure calendula infusion and aloe vera by weight and place in a a clean, dry jar.
I find a kitchen scale works well, but for smaller amounts you will likely need a jeweler’s scale as it can register minuscule portions.
Place jar in your make-shift double-boiler and start warming the aloe vera and distilled water. We are beginning these first while you get the oil, wax, and cocoa butter ready as the water mixture takes longer to come to temperature.
Measure the cocoa butter, emulsifying wax, and oil and place in a clean, dry, jar.
Set in double-boiler alongside the water/aloe mixture.
Warm to around 70 degrees C/158 degrees F – this seems to be the safest way to create an emulsion that will not separate. I use a laser temperature gun for this.
Once the contents of each jar has reached the desired temperature, remove from heat and set on a sturdy surface.
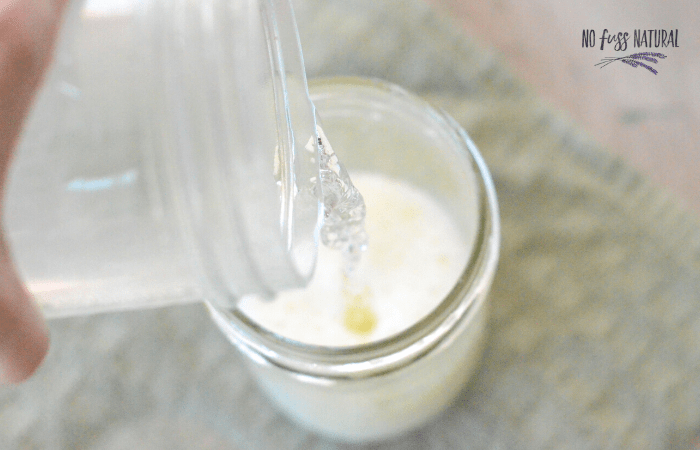
Pour the water phase into the oil phase and stir or whisk quickly to combine. You will need to combine them while they are still hot in order for them to emulsify. The aloe needs to be warm and stirred quickly to blend well.
Stir occasionally as it cools. Let mixture sit until it reaches the correct temperature to add your chosen preservative. Add preservative and stir to blend.
Lotion should keep for 3-4 months with natural preservative.
If you are new to making lotions or creams, you can make half the recipe to create a smaller batch. That way you can test it out without making too much.



 Dark Chocolate Blueberry Oat Protein Balls
 →
→
Leave a Reply