Creating an at home apothecary is fun and rewarding. In this post we will cover how to set up an herbal apothecary at home, which supplies to keep on hand, and what to do with them!
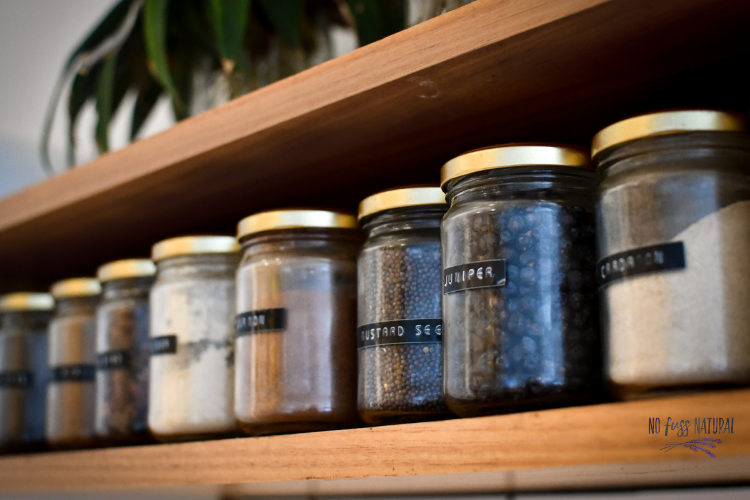
Designate a space for your apothecary
Before you stock your home apothecary, you’ll need to decide where to put it! Some people designate an entire cabinet, while others reserve one shelf for supplies. Whatever you have available, make it your own! Having one central hub for your herbal supplies will save lots of time because you will have everything in one place when you need it (and won’t have to go hunting for ingredients). That said, it is not always feasible to set aside a large area for supplies, so do what you can. If you need to choose a few areas around the house, it is a good idea to designate each spot for similar items. For example, one cabinet could be for oils and waxes, while another could be for herbs.
When building a home apothecary it is important to select a space that has a fairly stable temperature and humidity. Extreme fluctuations in heat and humidity are not the best for storing herbs and herbal preparations as these factors can cause herbs to breakdown a lot faster.
Another important consideration is whether or not you will be able to keep the herbs out of direct sunlight in the chosen location. If not, you may elect a different spot or think of a way to keep the sun from beating down on your herbs.
Herbs
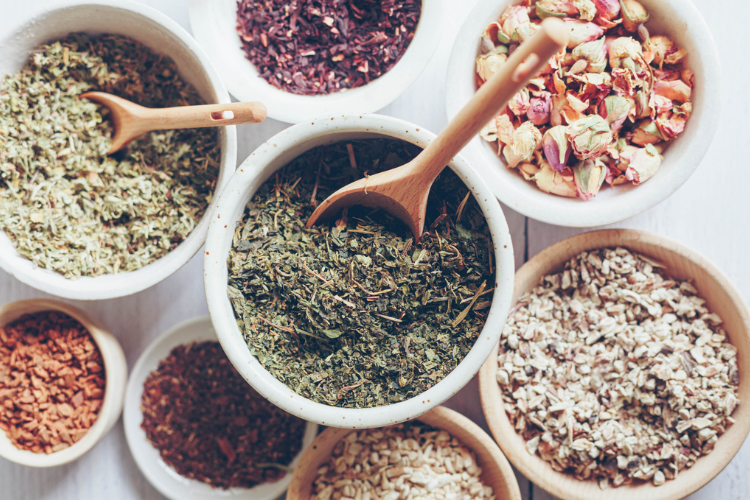
Dried herbs are an integral part of an at home apothecary as they are the base of many helpful preparations including teas, tinctures, balms, salves, poultices, and more.
Which herbs to keep on hand?
This will be unique to you and your situation, however, I find that there are a number of herbs that many people commonly stock in their home apothecary.
Calendula – useful for many skin issues but also handy for teas and other herbal infusions.
Learn more:
– How to Make Calendula salve
– 3 Ways to Use Calendula
Plantain – another useful herb for skin issues such as bites, scapes, and various minor wounds. I find calendula and plantain cover just about any skin trouble I want to address.
Learn more:
– How to use plantain
– How to make Plantain Salve
Echinacea – a well-loved herb for use during cold and flu. I love to keep on hand for creating echinacea tincture and herbal tea. I like to keep both Echinacea root and Echinacea leaf on hand.
Elderberries – a favorite for immune support. Use to make elderberry syrup and gummies. Purchase these before the winter season begins whenever possible as they tend to sell out.
- Ginger root – good for supporting the body through various ailments and can be used in tinctures, teas, and topical applications. Whe I started studying ginger I was blown away by how much it can do! This is one you can keep on hand dry, but fresh ginger root is also readily available at most grocery stores, so you can always buy it that way instead (that said, I still tend to use dry for tincturing and topical applications).
Nettle Leaf – another herb that is useful for a myriad of issues! In fact, herbalist David Hoffman once said, “When i doubt choose nettle.” I’d say that’s enough to warrant making it part of your herbal apothecary. Nettle is a great support during allergy season, but also makes a wonderful all-round tonic for everyday wellness. Is wonderful in infusions and teas.
Arnica flowers – my go-to herb for bruising and soreness. Should not be used on broken skin. I use in my homemade arnica slave and salve for tired muscles.
A few other favorites include dandelion root, licorice, peppermint, catnip, astragalus, ashwagandha, lemon balm, and chamomile.
Start small and build as you go. It’s better to wait to purchase than to over do it and end up throwing away a bunch of unused herbs!
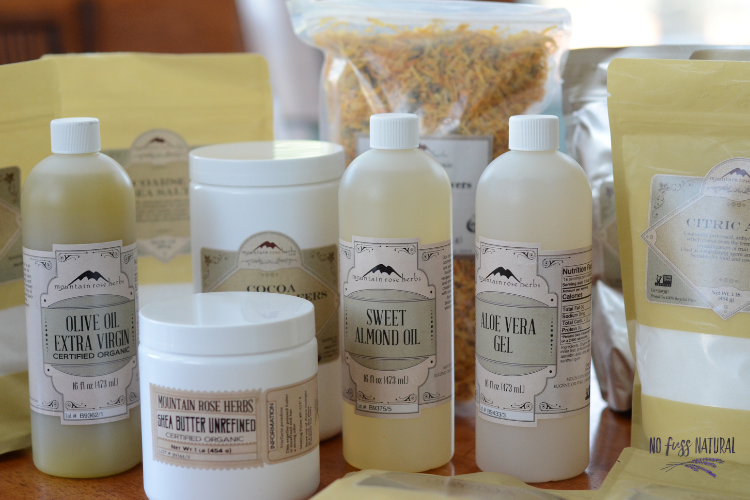
How much to buy?
One mistake people often make when creating an herbal apothecary at home is to buy too many herbs or too much of one herb. It is easy to get excited and start purchasing a myriad of wonderful herbs. I mean, who can blame you? There are so many amazing herbs to enjoy!
In the beginning it’s very unlikely that you will need more than a few ounces of anything. I now buy one pound of a couple of things, but even then, only once in a while.
I asked one of the instructors at the Herbal Academy (my favorite online herbal school!) how much she recommended for those starting out and she recommended approximately 1-2 ounces of the “fluffy” herbs and 2-3 ounces of the heavier roots and berries.
Where to buy herbs
Hands down, my favorite place to purchase herbs is Mountain Rose Herbs. I’ve been a customer of theirs for over 15 years now! I can rely on Mountain Rose Herbs for high quality at affordable prices. I also know they have high standards and principles and are committed to sustainability and fair trade practices.
If you have a local health food store, you might look to see if they have a bulk section where you can purchase small amounts to try before committing to a big order.
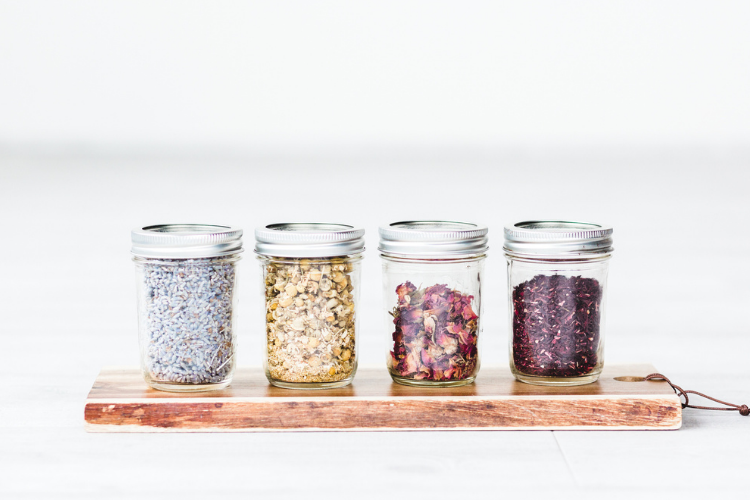
How to store herbs
There are a few important recommendations to keep in mind when storing herbs in order to maintain the best environment for them to remain potent and last for as long as possible.
- Keep out of direct sunlight
Herbs stored in the path of direct sunlight will breakdown more quickly and won’t last as long. To keep out of direct sunlight store in a cabinet or bookcase with a curtain attached. - Store herbs in an airtight container
This is important in order to maintain freshness. Air may cause dried herbs to oxide and breakdown more quickly. - Make sure herbs are completely dry before storing (and also ensure containers are clean and dry too)
Moisture will cause herbs to breakdown and/or become moldy. This is certainly not what we went when creating supportive herbal preparations! If you are drying your own herbs from fresh, inspect them before storing in case any moisture remains. If you are not certain they are dry, leave to dry out a while longer. Along the same lines, it is important to thoroughly dry any jar or container you plan to use for herb storage. Moisture left in the container may contribute to mold growth and/or the breakdown of the herbs.
Carrier Oils
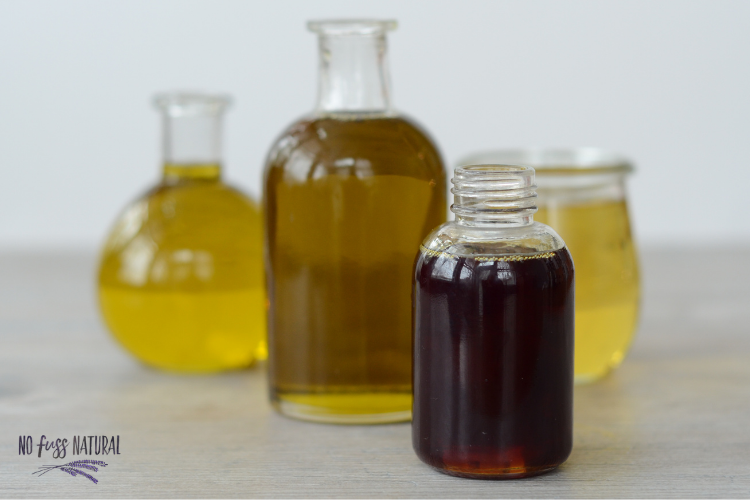
Oils are useful when creating topical applications such as salves and balms. They also come in handy for diluting essential oils, making natural body care products, and edible infused oils for cooking, marinating and salad dressings.
There are so many carrier oils to choose from it’s difficult to narrow them down to just a few. However, I will share three of the oils I use the most. If you’d like to explore the various oils available, see this list of carrier oils and the following list of cooking oils.
Learn more about using and selecting carrier oils in my post: How to Choose the Right Carrier Oil
Coconut oil – a favorite for use in salves and balms, it’s also useful as a base for essential oils since it helps to dilute the oils and can be applied easily to the skin. I use unrefined coconut oil, which does have a coconut scent. If you prefer less coconut fragrance, use a naturally refined coconut oil.
If you are allergic to coconut oil, or simply want to make a diy coffee body scrub without coconut oil, Babassu oil makes a great substitute. Read about using Babassu oil as a coconut oil substitute in DIY skin care recipes here.
Sweet almond oil – an excellent base for herbal oil infusions and topical applications. The nice thing about sweet almond oil is that it has a subtle aroma which will not overpower other ingredients you may wish to highlight (such as fragrance essential oils). Do not use sweet almond oil if you have an allergy to nuts.
Olive oil – a commonly used oil in many home apothecaries because it is so readily available. It is an excellent all-purpose all and works well in many oil infusions and skin care recipes.
Other oils I use often include avocado oil, sunflower oil, and grapeseed oil.
Waxes and Butters
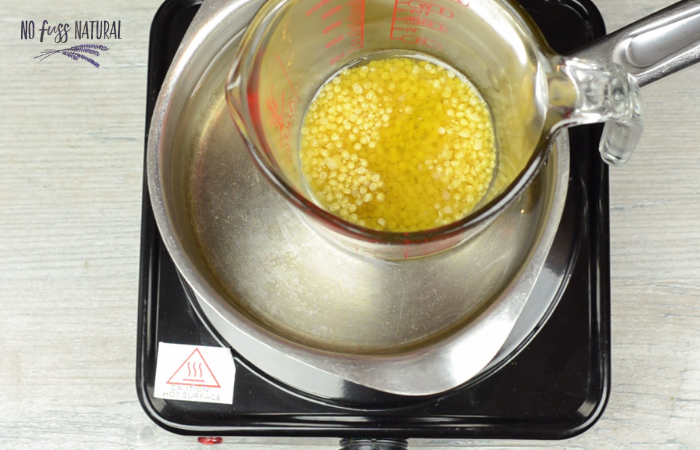
When first getting started you really only need beeswax and perhaps cocoa butter or shea butter. I personally love to use a variety of butters to create various products, but when beginning you really don’t need much.
Beeswax – a necessary ingredient for making salves and balms. If you are vegan or want to avoid beeswax, use Carnauba wax or Candelilla wax instead. Both of these waxes are harder than beeswax and you will need to use less when creating herbal products.
Learn more about using beeswax here.
Essential Oils
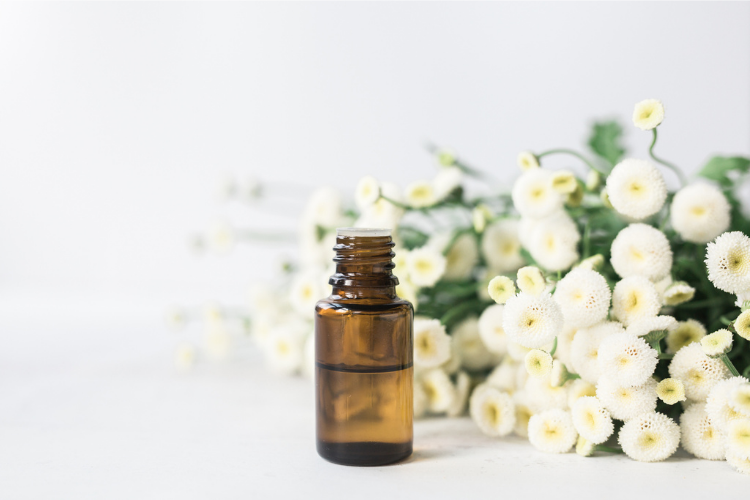
There is an essential oil for just about anything these days! This is another area where it is easy to get carried away and buy a ton of different kinds. However, you can start small and build up! Over time you will learn which oils you use the most.
The following essential oils are my favorites for use in my home apothecary:
Lavender
Tea tree
Peppermint
Frankincense
Helichrysum
Jars, Tins, and Containers
If you are buying loose herbs, you’ll need something to hold them. The bags they come in are ok, but don’t work that well for storage purposes. Simple canning jars are great for herbs if you can keep them in a dark cabinet.
You’ll also need some containers and bottle to hold various herbal preparations. I’ll share what works best for me below.
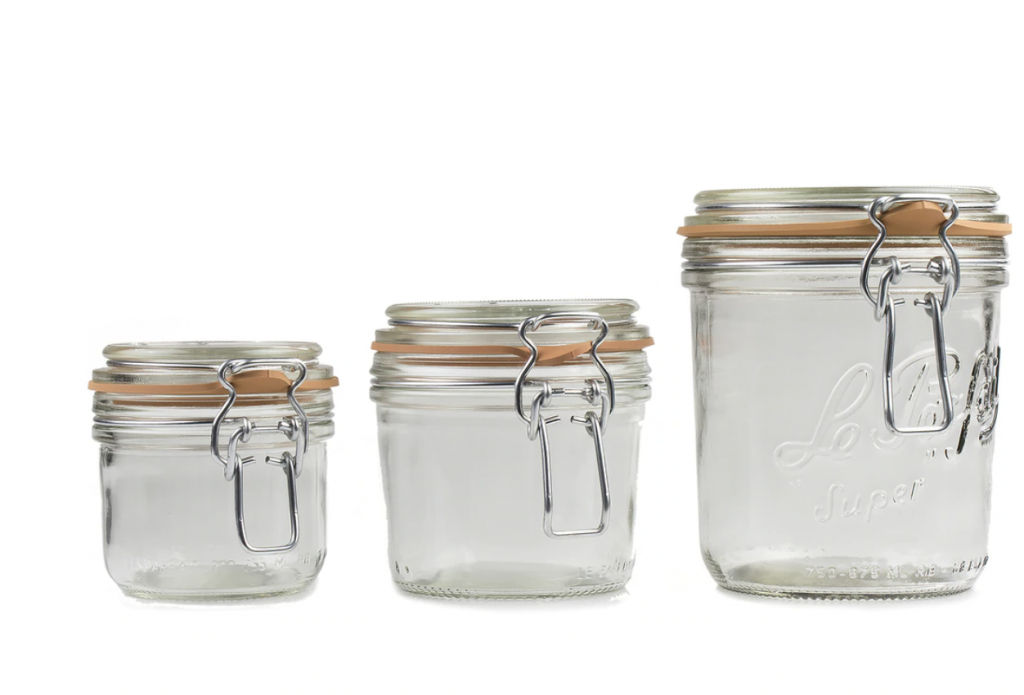
Canning jars and lids – canning jars are one of the best options for herbal storage. There are many sizes available and these can also be used for storing herbal preparations. Ball canning’s leak proof, air tight lids are wonderful for your home apothecary as well. I love these for food storage too! Quart size jars generally work well for storing 4 ounces of herb (but this can vary due to the “fluffiness” of some herbs).
Mountain Rose Herbs carries air-tight Pantry Jars which are also a great option for herbal storage (see image below).
Tins – excellent for salves and balms. I especially love these push top tins for on-the-go salves like my bug bite salve and calendula salve. They are perfect to carry in a back pack on any outing.
Amber bottles – I find these are a must-have when making tinctures and other herbal preparations that are sensitive to light. Amber bottles can be purchased with droppers, misters, screw caps, and reducers (such as is used for essential oils).
Other Tools
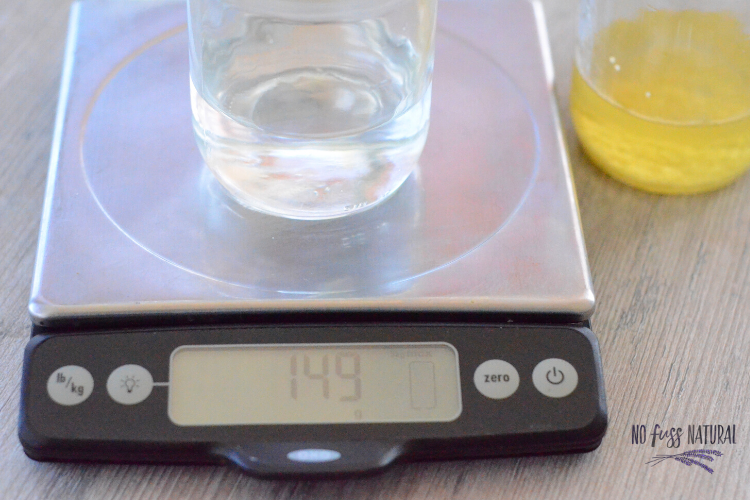
Besides ingredients, you’ll also need a few tools for measuring, mixing, and preparing herbs for use. The following items are helpful to include in your herbal apothecary:
Scale – a kitchen scale is helpful for weighing ingredients when making herbal preparations and natural body care products.
Measuring cups – regular kitchen measuring cups are great for your home apothecary.
Measuring spoons – measuring spoons are also useful when making herbal preparations.
Pyrex measuring cup – perfect for measuring and pouring liquids and also work in a make-shift double boiler.
Cheesecloth – used when straining herbs from tinctures and infusions.
Fine mesh strainer – also used when straining herbs from tinctures and infusions. I line with cheesecloth to help remove all the little bits of herb.
Parchment paper – needed when making some tinctures and infusion if using metal lids. This is used to cover the opening before adding the lid to stop vinegar or alcohol from reacting with the metal.
Mortar and Pestle – useful when breaking up herbs for various preparations.
Coffee grinder – use to grind herbs into a powder. It’s good to have one that is reserved for herbs so you don’t make your coffee grounds taste like herbs or your herbs taste like coffee!
Labels
Whether you use pretty labels or simple tear off a piece of masking tape, you’ll need to keep track of your herbal creations and record their expiration date as well as make a note of the ingredients used.
A Notebook
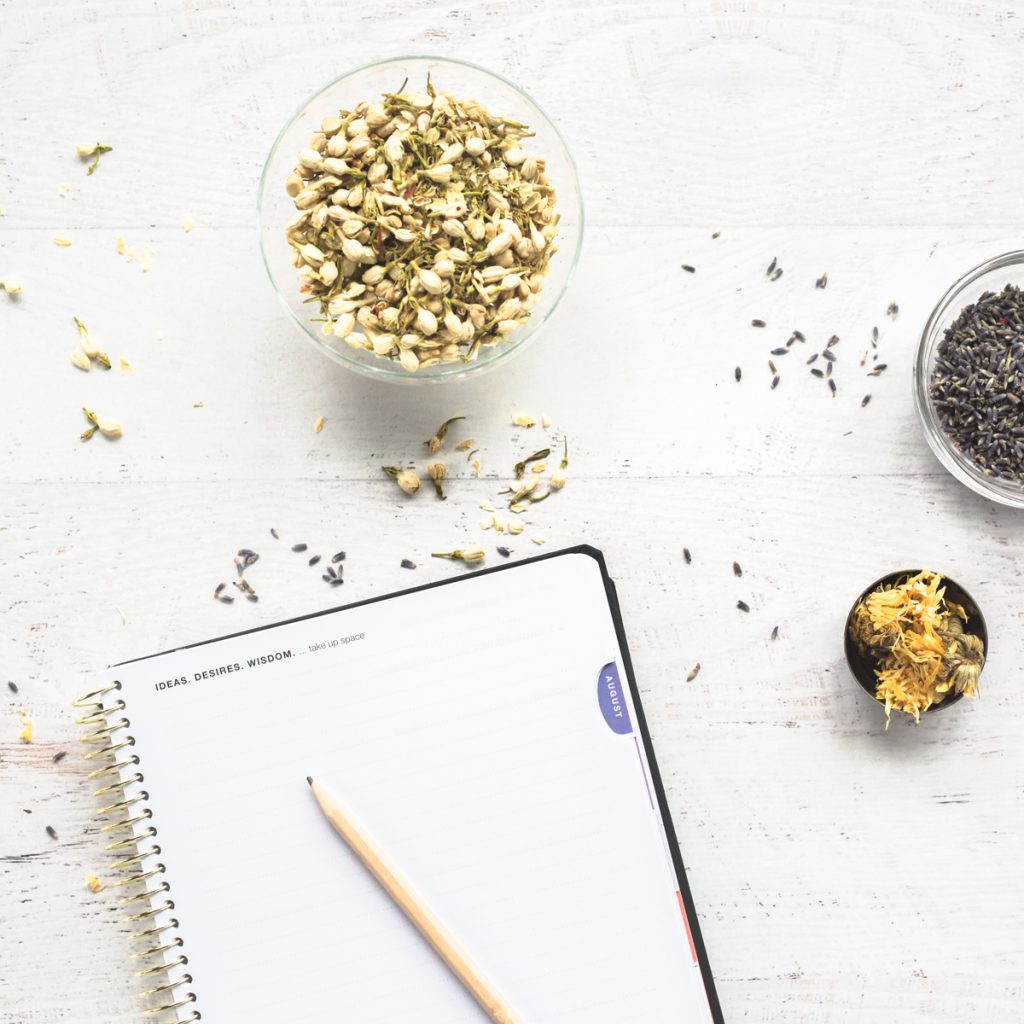
A simple notebook to jot down ideas or keep track of recipes and formulations is nice to keep on hand. You may also like to keep track of which herbal preparations you use and how they work. I have a free printable notebook for this purpose that you might find helpful. See the herbal Remedies Notebook here.
Reference Books
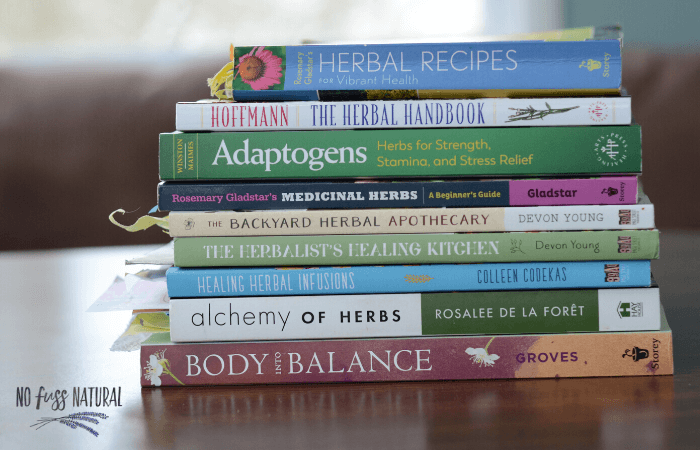
Have a few trusted herbal books on hand is helpful for learning more about how to use herbs for wellness.
Some of my favorite herbal books include:
- Healing Herbal Infusions by Colleen Codekas
- Body Into Balance: An Herbal Guide to Holistic Self-Care by Maria Noel Groves
- Rosemary Gladstar’s Herbal Recipes for Vibrant Health by Rosemary Gladstar
- Adaptogens: Herbs for Strength, Stamina, and Stress Relief by David Winston
- Alchemy of Herbs by Rosalee de la Forêt
- The Herbal Handbook: A User’s Guide to Medical Herbalism by David Hoffmann
- The Backyard Apothecary by Devon Young
Learn more about my favorite herbal books here.
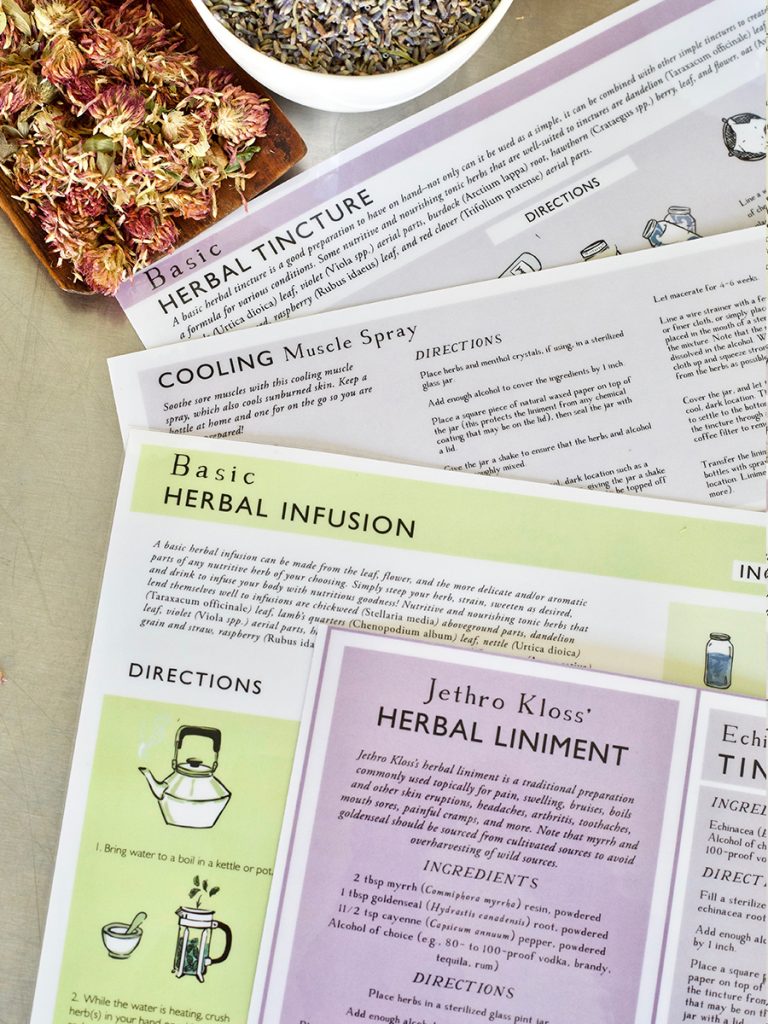
You might also enjoy this wonderful herbal preparation guides from the Herbal Academy. They come laminated and can be added to a binder or attached to the wall in your apothecary space.
Putting it Together
Once you’ve designated your space, sit down and make a list of the most important tools and supplies you need. If you aren’t sure what herbs to purchase, it may be a good idea to read one of the herbal books mentioned above to discover the most important herbs for your unique situation.
It is also helpful to get some herbal training to aid in building confidence in selecting and using herbs safely. I recommend courses from the Herbal Academy. They have in-depth herbal course from beginner to advanced as well as


 12 Best Natural Ingredients for Healthy and Glowing Skin
 →
→
Leave a Reply