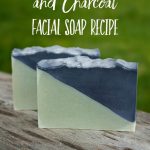
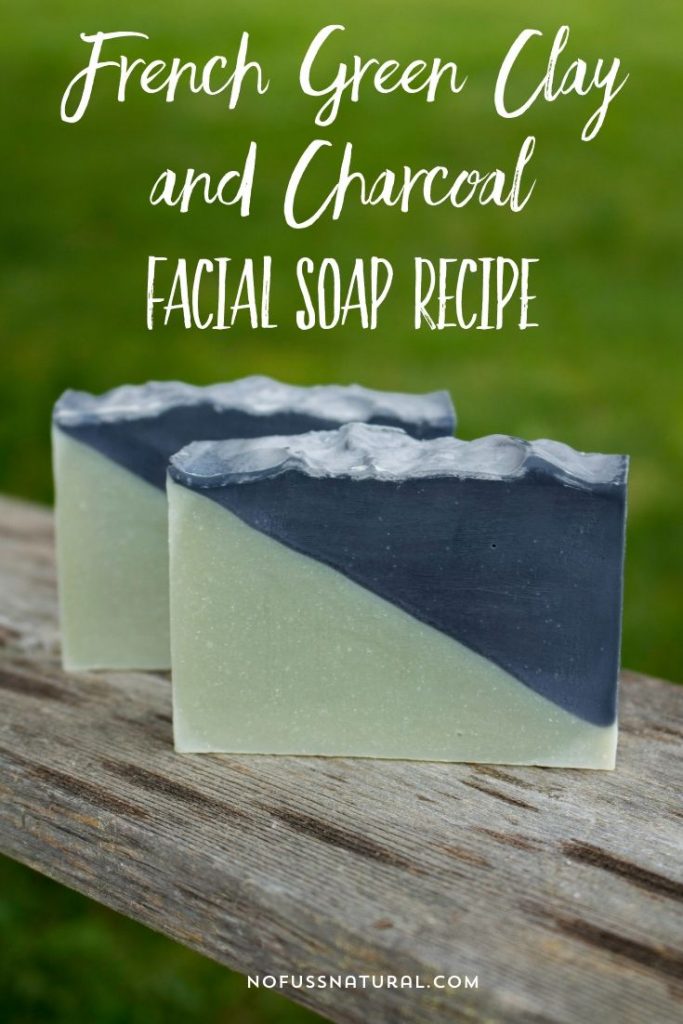
This French Green Clay and Charcoal Facial Soap recipe makes a delightful soap that cleans deeply, yet gently. It is suitable for most skin types.
If you've tried your hand at making natural skincare products, you may have stuck with the simple things, like body scrubs and facial scrubs, serums, and body butters. After some time, it stands to reason that you may wish to expand into more complicated products such as homemade soap.
Or perhaps you are already a soap maker, but want to venture into facial soaps. Or maybe you already make facial soaps but are looking for a new facial soap recipe to try…
No matter what reason you landed on this page of the web today, I think you'll be delighted with this lovely recipe, graciously shared with me by Jan Berry of The Nerdy Farmwife.
In my opinion, Jan Berry is the queen of natural soap making. I adore her recipes. They are always carefully developed and beautifully presented.
Jan is also a master at teaching the process of soap making, step-by-step. Just take a look at her Soap Making 101 post to see what I mean.
This facial soap recipe is a fun project for any soap maker (beginner, intermediate, or advanced). Be sure to see the instructions ins step four to get the diagonal line in the middle.
Suitable for most skin types, except extra-dry skin, this homemade soap includes french green clay and charcoal for gentle cleansing of the face.
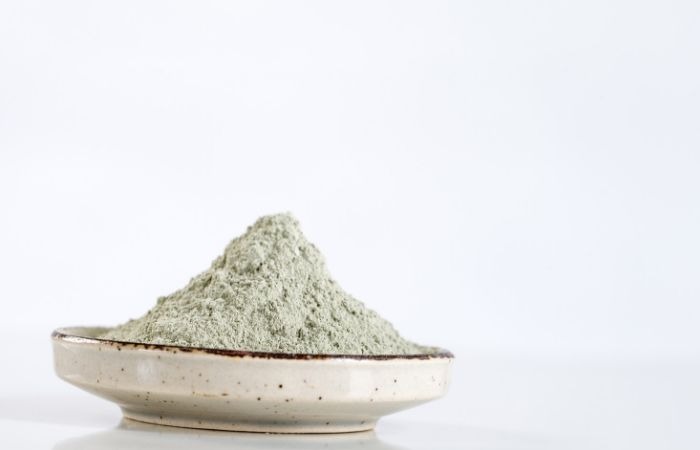
French green clay is deeply cleansing. It is also a wonderful clay to keep on hand for face masks.
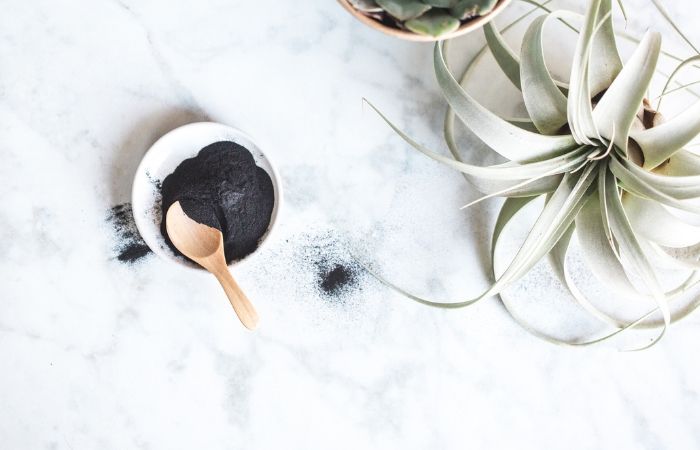
Charcoal is very popular in facial soaps these days. It is helpful for removing impurities and detoxifying the skin. It will add a dark grey or black color to soap recipes.
French Green Clay and Charcoal Facial Soap Recipe
Cleans Deeply & Gently, For Most Skin Types (Except Extra-Dry)
Ingredients
Oils & Butters:
• 14.5 oz (411 g) olive oil
• 5 oz (142 g) coconut oil
• 4 oz (113 g) mango butter
• 3 oz (85 g) hemp oil
• 1.5 oz (43 g) castor oil
Lye Solution:
• 3.83 oz (109 g) sodium hydroxide (NaOH)
• 9.25 oz (262 g) distilled water
Extras:
• 3 tsp French green clay + 2 Tbsp water
• 1 tsp charcoal + 1 tsp oil (from recipe)
Tools
- Gloves
- Googles
- Long sleeves
- Stick blender
- Stainless steel or enamel Pot reserved for soap making
- Containers for measuring water and lye
Instructions
Be sure to follow these instructions carefully.
Step One: Make Lye Solution
- Be sure you are wearing long sleeves, gloves, and googles. Weigh distilled water into a heatproof pitcher.
- In a separate container, weigh the sodium hydroxide.
Pour slowly and carefully, trying not to spill, then immediately re-cap the sodium hydroxide/lye container and place it far from the reach of children and pets. Take a wet paper towel and thoroughly wipe down the scale and surrounding area in case a few grains are still around. - Carefully sprinkle the sodium hydroxide into the water.
Do this in your kitchen sink in order to catch any splashes or drips. Stir with a heavy-duty plastic spoon or silicone spatula until fully dissolved and set in a safe place, out of reach of children and pets, until it cools to about 90 to 115° F (32 to 46° C).
IMPORTANT SafTey Notes:
Make sure you pour the lye into water cool water (it should be no warmer than room temperature).
Always add the lye to the liquid and not the other way around.
Lye solution will heat up very quickly once lye is added to the water, so
Keep lye solution in a safe area, out of the way of children or pets. Be sure it is somewhere no one will accidentally bump or spill it. If you feel it will be safe in your kitchen sink, leave it there to cool.
The first time I made soap I tripped when carrying the lye solution. Don't do that!
Step Two: Weigh and Measure Oil
- While the lye solution is cooling, weigh out the oils and butters.
- Place oils and butters into an enamel or stainless steel pot that is reserved for soap making only.(Do not use aluminum!)
- Place pot on a burner, and gently warm over low heat until butters and oils reach approximately 90 to 115° F (32 to 46° C).
Step Three: Mix Lye solution and Melted Butters and Oils
- Check temperature of lye solution and butters/oils before mixing. They should be between 90 to 115° F (32 to 46° C).They don’t have to be precisely the same temperature (it’s okay if they are about 10 to 20 degrees different, you do have some leeways here). Soapmakers have personal preferences when it comes to what temperatures they choose to mix soap. Some prefer to mix at very high temperatures, while others let them cool completely and mix at room temperature.
- Once the desired temps are reached, drizzle lye solution into the pot containing oils and butters.
Saftey Note: It's a good idea to do this right beside the kitchen sink so you can rinse the pitcher/container that contained the lye solution as soon you've poured it into the oil. - Using a stick blender, combine the lye solution and oils. Stop occasionally to stir and check the consistency.
Safety Note: Make sure stick blender is fully submerged so not to splash oil and lye
solution everywhere. Work in small bursts of about thirty seconds on, then turn the stick blender off and use it to hand stir for about thirty seconds. Keep alternating like this to avoid burning out the motor and creating lots of air bubbles. - Watch for the mixture to reach an emulsification (or “extra light trace”)
Most soaps are mixed until they reach trace, but we are looking for extra light trace to allow us to divide the mixture in half and add the french green clay and charcoal to make the diagonal design as pictured above. Extra Light Trace is when there is no streaks of oil left in the soap mixture and mixture is the consistency of a thin cake batter. It has thickened a little, but just barely.
Trace is when you drizzle a small amount of soap mixture over the surface and it will leaves a faint pattern (or trace) before sinking back into the mixture. This should only take a few minutes.
Step Four: Divide Mixture and Add Clay and Charcoal
- Once extra light trace is reached, divide soap mixture into equal halves.
- In a small bowl mix the green clay with water until smooth. Blend diluted green clay into one half of the mixture until it reaches a medium trace.
- Set out soap loaf molds and angle them on a couple of books or a towel so that it’s slanted.
- Pour the green portion of the soap into the mold, adjusting the angle if needed, so the batter reaches each corner. Leave the mold undisturbed for around 5 to 10 minutes or until it firms up enough not to move when the mold is straightened.
- Next, blend 1 tsp charcoal + 1 tsp oil. Add this charcoal mixture into the other half of the soap batter until it’s a medium thick trace.
- Make sure the mold is flat on the table; pour the charcoal batter on top of the green clay layer. Cover lightly with wax or freezer paper, then a towel or blanket to encourage gel phase.
- Leave undisturbed for 24 to 48 hours.
- Check soap every now and then in the first few hours to make sure the top isn’t cracking. If it is, the soap may be getting too hot. If that is the case, uncover it so it can cool down.
For variation, you can swap the two colors around or try other colored clays such as blue
Cambrian, purple Brazilian or rose clay.
Step Five: UnMold and Let Cure
- Unmold your soap.
You can cut it into bars right away or later. I like to do it within a few days after making, so that the soap is still easy to cut. Use a ruler and a knife to cut into desired sizes. There’s no reason to cut right away though. Some like to leave their soap in whole loaves or blocks and just cut off what they need, when they need it. It’s a personal preference thing. - Let the bars cure in the open air on pieces of wax paper or brown paper, turning occasionally,
for 4 to 6 weeks. Store in a non-humid area where they still have some airflow.
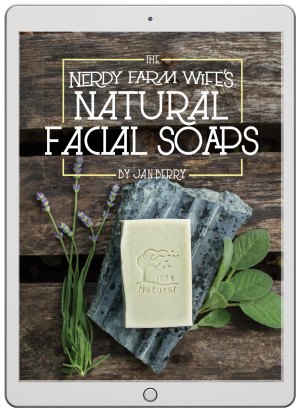
This recipe comes from Jan Berry's ebook, Natural Facial Soaps.
Natural Facial Soaps is meant to be an add-on to Jan's soap-making ebook collection and contains a number of lovely facial soap recipes.
Learn more about Jan's ebooks and courses here.
New to Soap making?
Be sure to pay careful attention to the safety notes. If you need more information, check out Jan's Soap Making 101 Post.
Ready to dive deeper into soap Making?
Check out the Soap Making Success ecourse. It answers all your questions about soap making (and then some!).
Here's a peek at the Soak Making Success ecourse content:
- Lesson 1 – Success with Fruits & Veggies
- Lesson 2 – Success with Flowers & Herbs
- Lesson 3 – Success with Alternative Liquids
- Lesson 4 – Success with Natural Colorants
- Lesson 5 – Success with Simple Soap Designs
- Lesson 6 – Success with Soap Label Design
Bonus Content includes printable charts and other helpful resources.


 Non-Toxic Laundry with Buckaroo Organics
 →
→
Leave a Reply